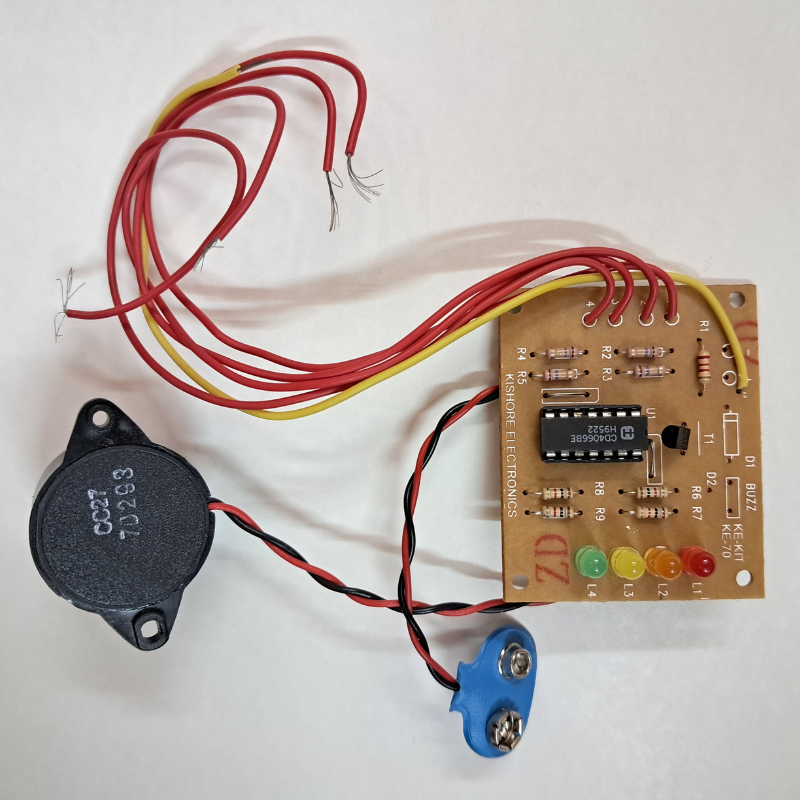
Building a 4 LED water level indicator with an alarm can be a challenging but rewarding project for electronics enthusiasts.
Here are the basic steps to build a 4 LED water level indicator with an alarm:
- Determine the specifications: Decide on the desired water level range to be monitored, and the accuracy required.
- Choose the sensors: You will need four sensors to detect the water level. There are several types of sensors that can be used for this purpose, such as float switches, ultrasonic sensors, or capacitive sensors. Choose the type of sensor that is suitable for your application.
- Choose the microcontroller: You will need a microcontroller to control the LEDs and alarm. Choose a microcontroller that is compatible with the sensors you have selected.
- Design the circuit: Design a circuit that connects the sensors to the microcontroller, and the microcontroller to the LEDs and alarm. You can use a breadboard or a printed circuit board (PCB) to build the circuit.
- Program the microcontroller: Write code to control the LEDs and alarm based on the sensor readings. The LEDs should light up in sequence to indicate the water level, and the alarm should sound when the water level reaches a critical point.
- Test the circuit: Test the circuit with different water levels to ensure that it works as expected. You may need to adjust the code or the sensor placement to achieve the desired accuracy.
- Mount the sensors: Mount the sensors inside the tank or reservoir. The sensors should be positioned at different heights to detect the water level accurately.
- Install the LEDs and alarm: Install the LEDs and alarm outside the tank or reservoir. The LEDs should be arranged in a sequence, and the alarm should be loud enough to be heard from a distance.


Reviews
There are no reviews yet.