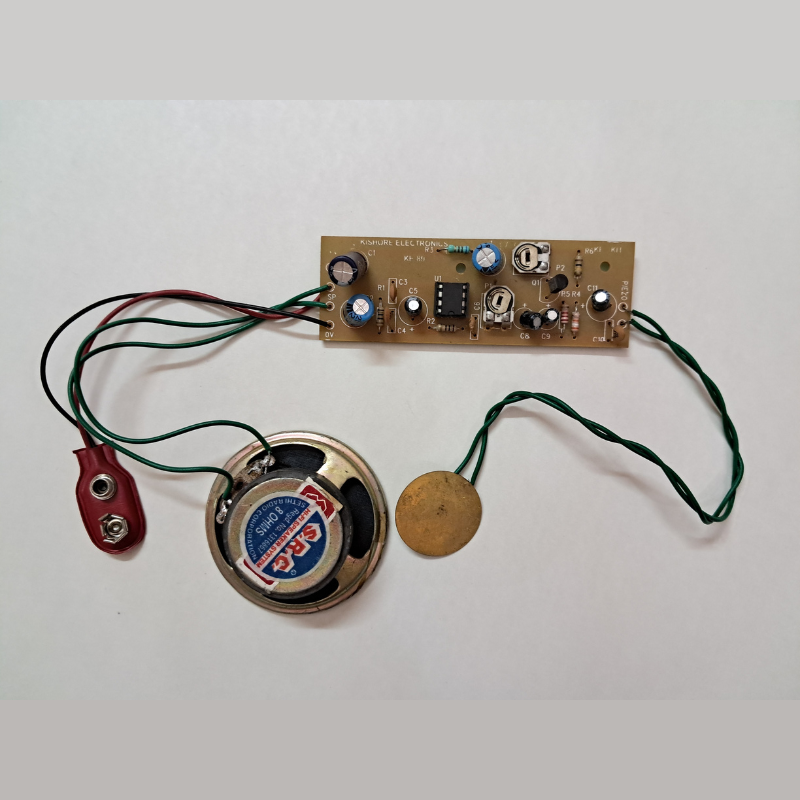
Building a heart rate monitor as an electronic project can be an interesting and challenging task for engineering students.
Here are some steps to follow:
- Choose a microcontroller: The heart rate monitor can be built using a microcontroller like Arduino, Raspberry Pi or any other suitable microcontroller. The microcontroller will be responsible for processing the input from the sensors and displaying the heart rate.
- Select sensors: There are different types of sensors that can be used to measure heart rate. Photoplethysmography (PPG) sensors, electrocardiogram (ECG) sensors, and piezoelectric sensors are some examples. PPG sensors are commonly used in wearable devices like smartwatches, while ECG sensors are used in medical equipment.
- Design the circuit: Once the microcontroller and sensors are selected, design the circuit. The circuit should include the sensors, an amplifier, a filter, and a microcontroller.
- Write the code: After designing the circuit, write the code for the microcontroller to process the data from the sensors and display the heart rate. The code should include filtering and signal processing algorithms to remove noise and artifacts from the signal.
- Test and calibrate: Once the circuit and code are complete, test the heart rate monitor with a test subject. Calibrate the monitor to ensure accurate readings.
- Display the results: Display the heart rate on an LCD screen or any other display device.


Reviews
There are no reviews yet.